
My go to Wedding Lookbook


Hey Guys!!

What's up? Hope you all are doing great. 
Wedding season's here and everyone is super excited to dress up and dance to the tunes of shehnai and dhol. Aren't you?

So here it is.. my wedding season lookbook. If you wanna attend a wedding but haven't prepared your outfits and jewelries or you don't want heavy dressing but still wanna look traditional and classic, then here's the solution to it.


I have created this lookbook with few simple steps using normal outfits and yet I look all preped up and ready to attend a wedding.
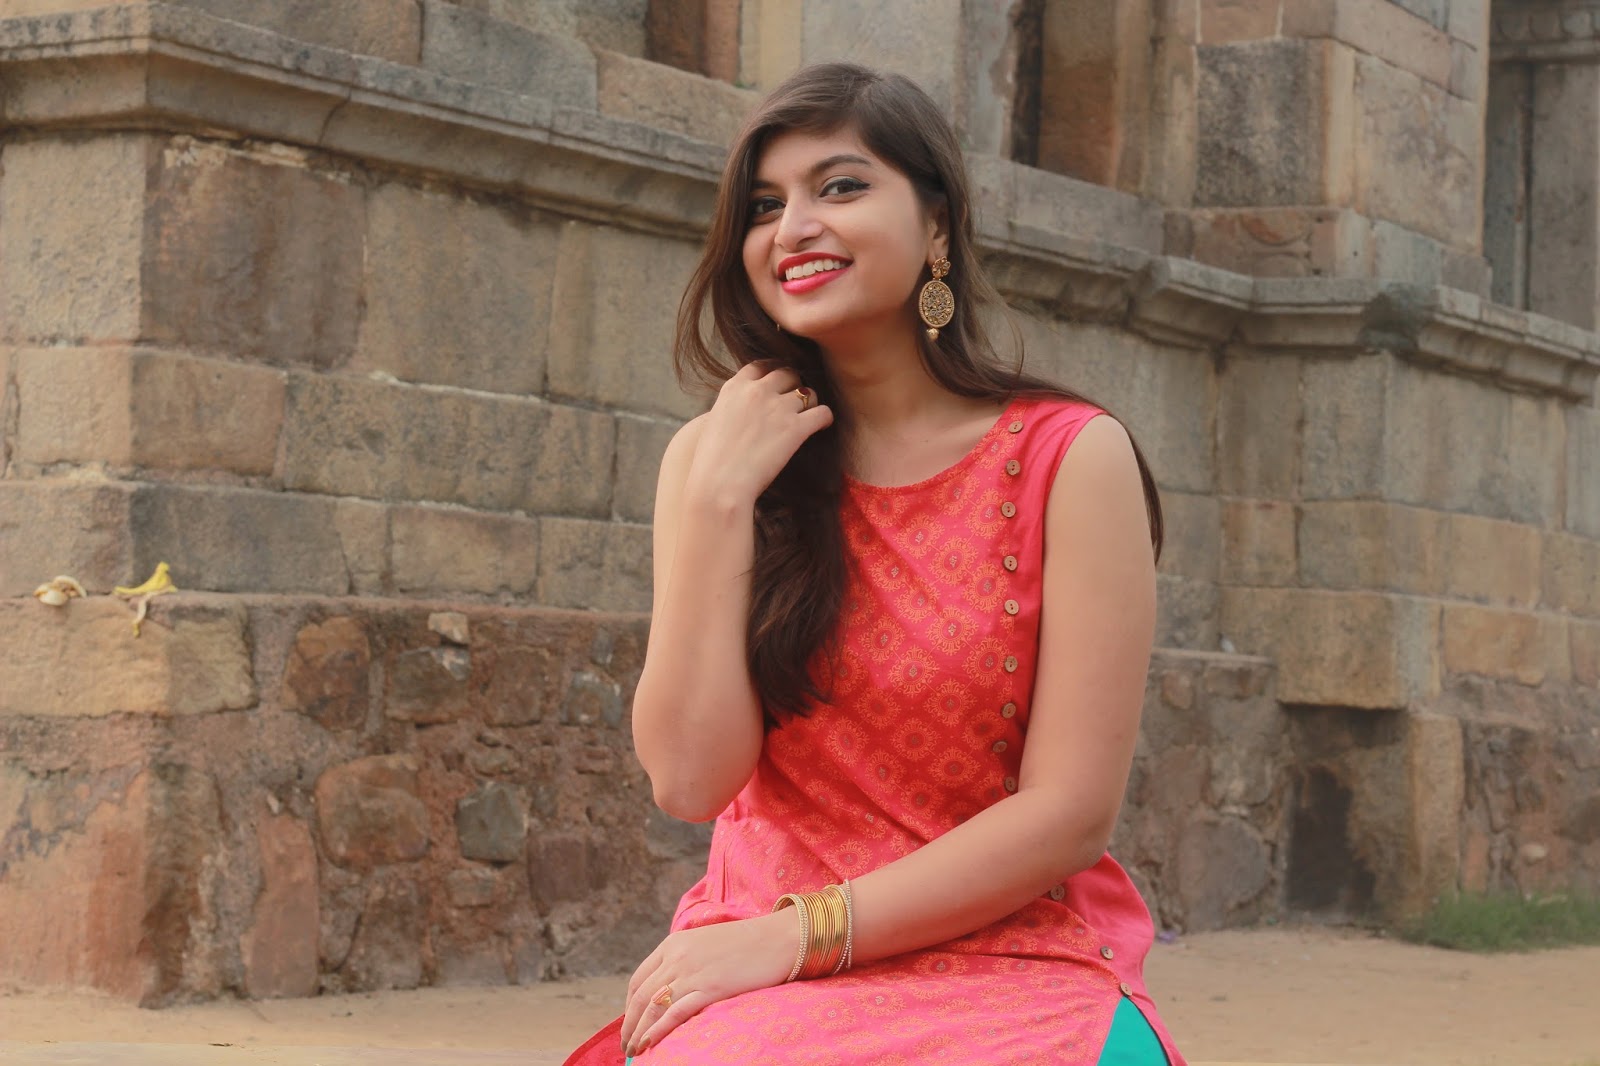
I created this look using simple orange kurti by SRISHTI from FBB from their Dil Se Desi collection. This kurta has a slight slit in the front over left side which looks much better than a plain kurta and also it has golden print all over it that brings out the ethnic look to another level. I paired this up with a flared palazzo in turquoise green colour which is by W, instead of a plain leggings or churidar or parallel palazzos. I chosed flared palazzo because it gives the look of a long skirt and looks so chic and stylish.


For jeweleries I just used my big heavy golden earring and bangles to match the golden detailing on kurta.


So the basic idea here is to pair a side slit kurta with a flared palazzo and matching jeweleries and you are good to go. I used turquoise coloured palazzo because it goes out with most of the colours in colour palette and can be carried in both day and night wedding.


I hope you liked this lookbook. So take a look at all the pictures and do let me know what's your reaction towards it. For any queries or suggestions comment down below. And make sure to follow me on all social media platforms if you would like to see more fashion tales by me.

Thank you guys for all the love and support. It means a lot.

Love you guys!!


Tanya Anand


Kurti - SRISHTI by FBB
Flared Palazzo - W
Heels - Snapdeal
Jeweleries from Local Market

My Social Media Links:

Comments

Popular posts from this blog

Fresh Summer Look!!

“I have always believed that fashion was not only to make women more beautiful, but also to reassure them, give them confidence.”  —  Yves Saint Laurent Hey Guys!! Yeah yeah.. I know.. its been long. But trust me last couple of months have been really hectic for me. More precisely, its been confusing. I was planning to leave New Delhi and all that. And then I had to cancel that plan all of a sudden and go home for some personal issue. And as I returned I had to shift. I hope some of you might be knowing the pain of shifting when you are all alone. Packing, unpacking, cleaning, arranging and all that stuff.  But yeah.. now I am free and there's gonna be a lot of posts from now on. Apart from all that I completed two years of my blogging and its all because of you guys. Seriously, without you guys I am nothing. Thank you for being a part of my beautiful journey. Well now lets dive into this post.  So as you can see the look that I have created...

JOVEES 24 CARAT GOLD Eye Contour Gel

Heyyy friends!! 👋 I hope everyone's doing fine. So today I am going to talk about one of my biggest problem, actually not only mine but other girls face this as well. Any guesses about what I am talking?  Of course, DARK CIRCLES!! Its like a Stubborn Monster, Isn't it? Well I can't help it out much because most of my work includes constant use of cell phones for typing, editing etc. So few weeks back I came across this product called JOVEES 24 CARAT GOLD Eye Contour Gel. PRODUCT CLAIMS Information : A unique formulation containing pure Gold leaves along with the herbs & botanical derived from Plant source that will help in removing dark circles and gives a fresh look to the delicate area under the eyes. Method of use : Gently massage Eye Contour Gel with ring fingers for two minutes around the eyes by moving finger in a circular motion. Use 15 minutes before going to bed and leave on. Ingredients : Glycerine, Carbomer, Carb...

White Green & Black Ombre Nail Art

Hello guys😇😍😘 Here I am back today with a new Nail Art tutorial.  When I did, I felt in love with that White Green and Black Ombre Nail Art. You could do this just using a makeup sponge... or any kind of sponge that does not absorb much. So without wasting a moment, here are the simple steps that you need to follow and then you will end up with an amazing nail art. Step 1 Apply a base coat on your clean and dry nails and leave it to dry and then paint your nails white. You could apply two coats of white on your nails for a perfect finish. Step 2 Take green colour on a pallete. Dab sponge over the green nail colour and then dab that coloured sponge over your white painted nails. If there is excess nail colour on sponge then dab it over the pallete and remove the excess otherwise you could end up with a messy nail. Step 3 Similarly take a drop of black colour on pallete and dab sponge over it, remove the excess if any, and then dab it over the gr...